Preventing blurry images
Blurry images are a frustrating aspect of electronic publishing: the image you add to Brightspot is crisp and clear, yet seems blurry or jagged on a published page. Almost every blurred image is the result of adding or changing pixels in the original image somewhere along a graphic’s timeline.]


The previous illustration follows a graphic’s typical timeline. A photographer captures the image; a graphic editor modifies the image and uploads it to the server; the server prepares the image for distribution; and the visitor’s phone displays the image. Each of these stations along the timeline (graphic editor, server, visitor’s phone) can modify the pixels in the original image, resulting in the blurries. The modifications that cause the worst blurries are enlarging an image, increasing an image’s resolution, and reducing color depth.
See also:
- Does the quality decrease when you display a low resolution image on a high resolution screen?
- Comparison gallery of image scaling algorithms
Use large images
An enlarged image has more pixels than its original. For example, if an original image is 100 × 100, and the enlarged image is 300 × 300, there are an additional 90,000 − 10,000 = 80,000 pixels that need to be filled in. Ideally, the new pixels contain colors that maintain the contrast between two previously adjacent pixels. The following example illustrates what happens when enlarging an original image with smooth color transitions.


In the previous example, there is a smooth transition from one color to another in the original image, so filling in the new pixels to maintain the smoothness is easy. The new pixels have colors similar to the original pixels. The blurries are there but barely perceptible.
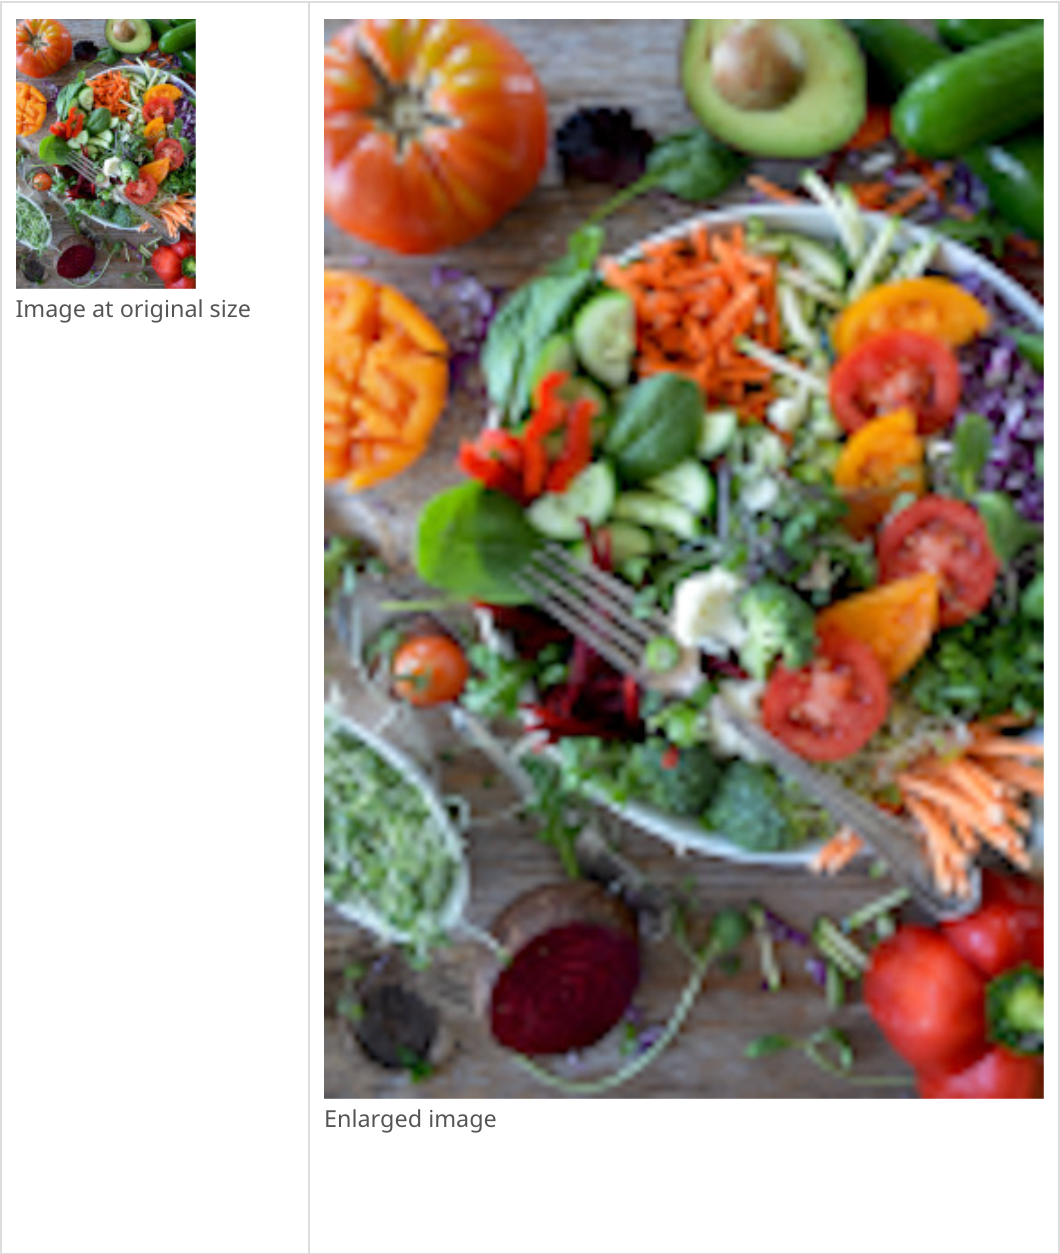
The following example illustrates the damage done to an enlarged image when the original has many areas of high contrast.


In the previous original image, the fork’s teeth are an alternating contrast between gray and black, and for the enlarged image Brightspot needs to fill the new pixels with the colors that best maintain that contrast—as well as the contrast with the surrounding vegetables. The results are mediocre: any algorithm used to maintain the contrast inevitably produces results that the human eye perceives as blurry.
The best strategy for avoiding the blurries on enlarged images is to use a large image in the first place. Otherwise, use an original image with smooth transitions from one color to another.
Match color depth
Color depth refers to the number of colors available to use in an image. Many years ago, computer monitors and graphics cards supported 8-bit colors, allowing for only 512 colors in an image. Today, the vast majority of monitors and graphics cards support 24-bit colors, allowing for 16 million (actually 16,777,216) colors. As a result, older monitors convert a 24-bit image by finding the closest one from the available 512.


In the previous example, the colors span from the white sun to the dark blue sky, and the enormous 16-million-color palette means any shade of blue is available to make the appearance of a smooth transition. In the 8-bit image there are only 512 colors available, severely limiting the available shades of blue. The device selects the closest available color, resulting in waves of shading.
If your visitors use older monitors, consider uploading to Brightspot images created with 8-bit color depth.
Match pixel density
Pixel density refers to the number of pixels per inch (ppi) on a screen. Suppose you create an image on a low-density monitor, such as 160 ppi, and a visitor is using a high-density screen, such as 320 ppi. At a screen size of 13 square inches, the original image has 334,000 pixels, and the visitor’s screen has 1.3 million pixels: the visitor’s screen needs to fill in far more pixels than are in the original image. Selecting the intermediate colors contributes to a blurry image.


For example, the previous image was created on an external monitor with resolution 300 × 300 dpi. The image’s appearance on a monitor with similar resolution is a bit brighter compared to its appearance on a high-resolution monitors available with a MacBook Pro or late-model smartphone.
If your visitors use high-dpi monitors, consider uploading to Brightspot images created on monitors with similar density.