Applying suggested tags to images
Brightspot generates suggestions for tags based on what it recognizes in an image. There are two sources for the suggestions:
- Your existing tags.
- Results from AWS Rekognition. (For details about integrating this service with Brightspot, see Configuring the Rekognition integration.)
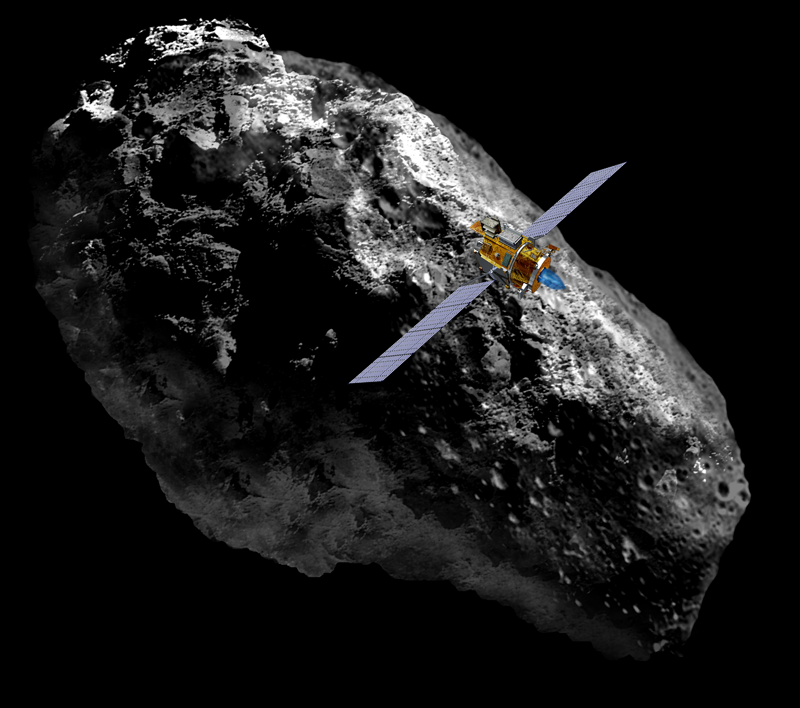
For example, you have an image of a satellite orbiting an asteroid.


Satellite orbiting asteroid
Brightspot scans your existing tags, looking for the ones that most reflect the image's content. Because this image pertains to astronomy, Brightspot suggests applying the existing tag Astronomy to this image.
To apply suggested tags:
- Create a new image. For details, see Image.
- In the Suggestions widget, click . Brightspot displays suggested tags based on your existing assets as well as analysis from AWS Rekognition.

 Refreshing tag suggestionsNoteThere may be a lag from the time you save an asset to the time you see corresponding entries in the Suggestions widget. If the Suggestions widget contains only one entry, wait a few seconds and click .
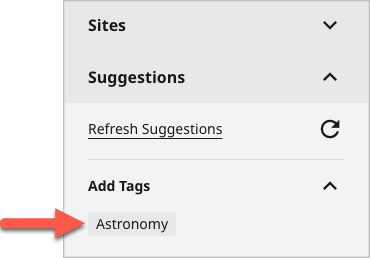
 To add an existing tag, under Add Tag, click one of the suggestions. For example, referring to the following illustration, clicking the existing tag
Astronomyadds it to the image.
 Suggested existing tag
- To create and apply new tags based on results from AWS Rekognition, under Create New, do the following:

 Suggested new tags
- Click one of the suggestions. For example, referring to the previous illustration, click
Tag: Outer Spaceto create a new tag. Brightspot opens a content edit page for creating the new tag.NoteThe confidence levels for identifying tags default to 0.5 for Amazon Comprehend. If Brightspot returns too many false suggestions, or not enough correct suggestions, consider changing the confidence levels. For details, see Configuring the Rekognition integration.
- In the content edit page, modify the tag or section as required, then click Publish. (The tags you publish are shared, so you can apply them to any other asset.)
- Click Back. You return to the initial content edit page for creating the image.
- In the image's Tags field, click to add the new tag you just created to the image.

 Applied new tag
 - Repeat steps a–d to create and apply additional tags from the list of suggestions.
- Click one of the suggestions. For example, referring to the previous illustration, click
- Complete your site's workflow and publish the asset.
See also:
Previous Topic
Configuring the Rekognition Image integration
Next Topic
Amazon Textract